Not to be all poetic, but when you’re wrapping up the process of making a quilt, you’re literally wrapping up the quilt…with the binding! This final step is one that I’ve come to truly love.
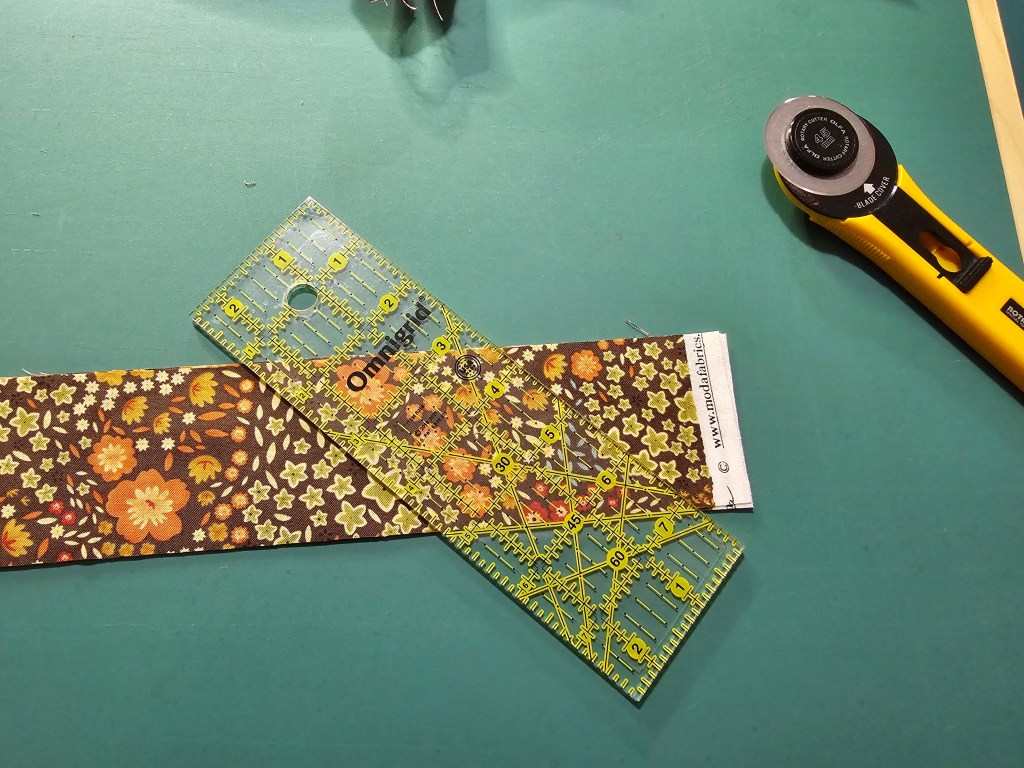
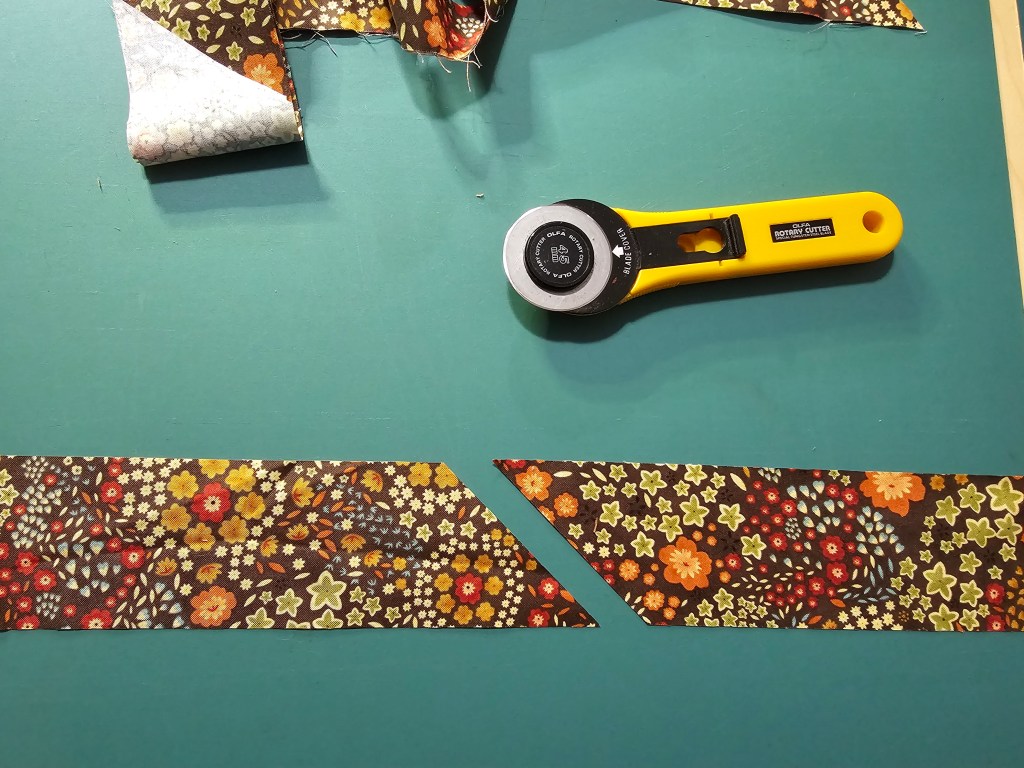
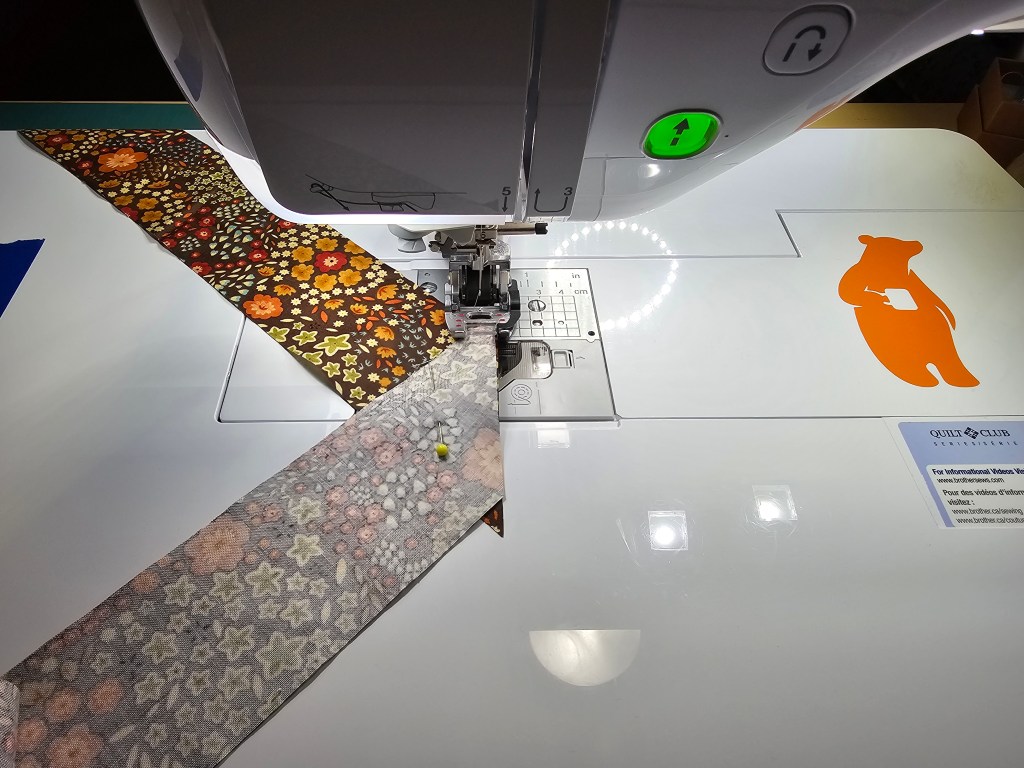
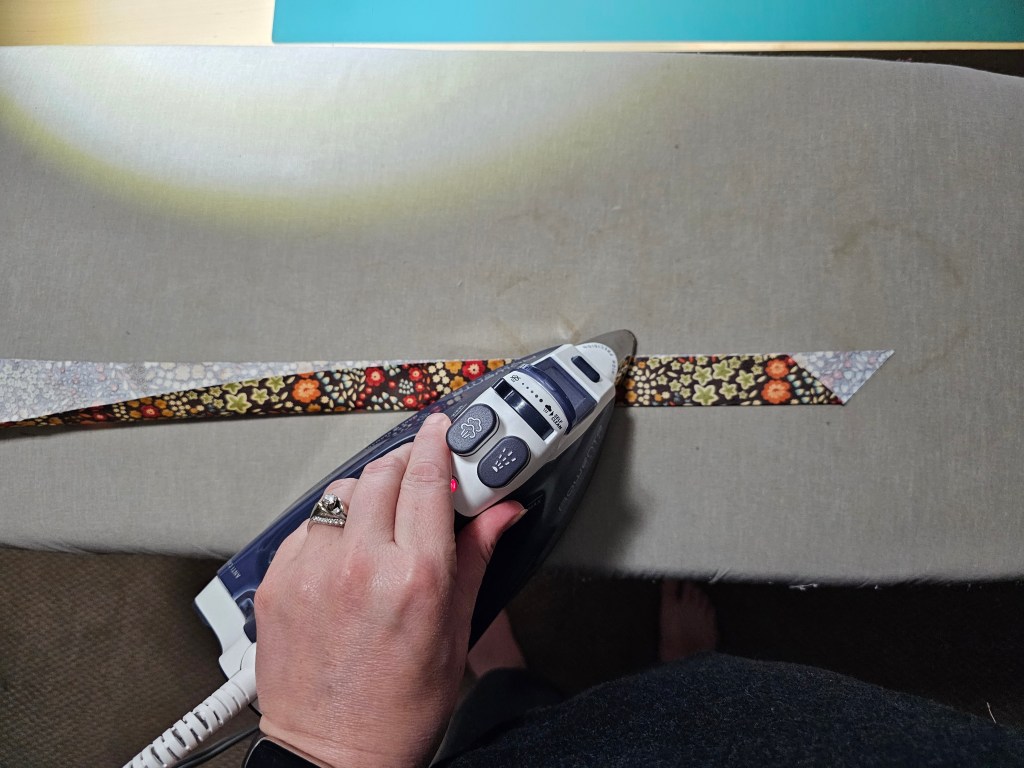
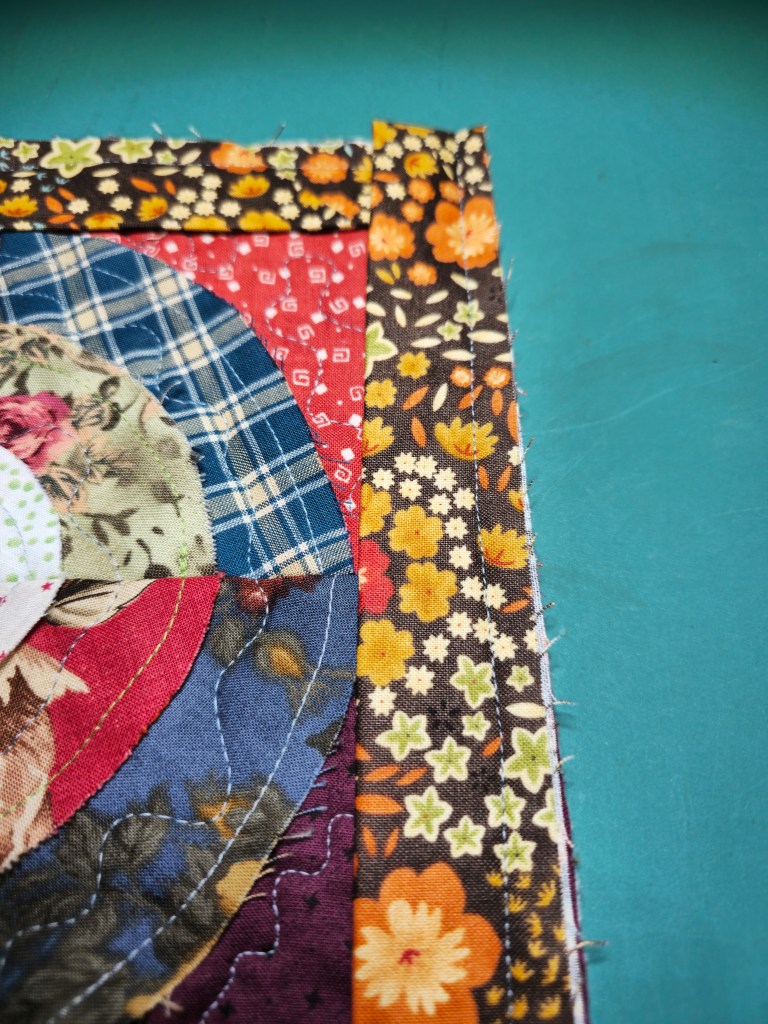
To assemble the binding, you cut strips of fabric (2.5″ for me), trim the ends of the strips to 45-degree angles and sew them together (the angled seam distributes the bulk of the fabric so it isn’t all folded over on itself), iron the new, united strip in half (the long way, pretty sides out), and machine sew the binding around the outside edge of the top of the quilt. Then, you wrap the binding around the raw edge of the quilt and sew it down. This last step can be done via machine or by hand.
In the early days of quilting, I completed that final step by machine-sewing the binding. It made for quicker finishes and it meant I didn’t have to hand-sew anything…which I generally don’t/didn’t enjoy. But at some point in the last 10-12 years, I’ve started hand-sewing my bindings. Not only do I think it makes for a more polished finish, I’ve come to truly love those final hours, snuggled up under the quilt while I work on it. It’s a little test-drive, if you will…making sure the quilt is functioning properly before I send it off into the world.
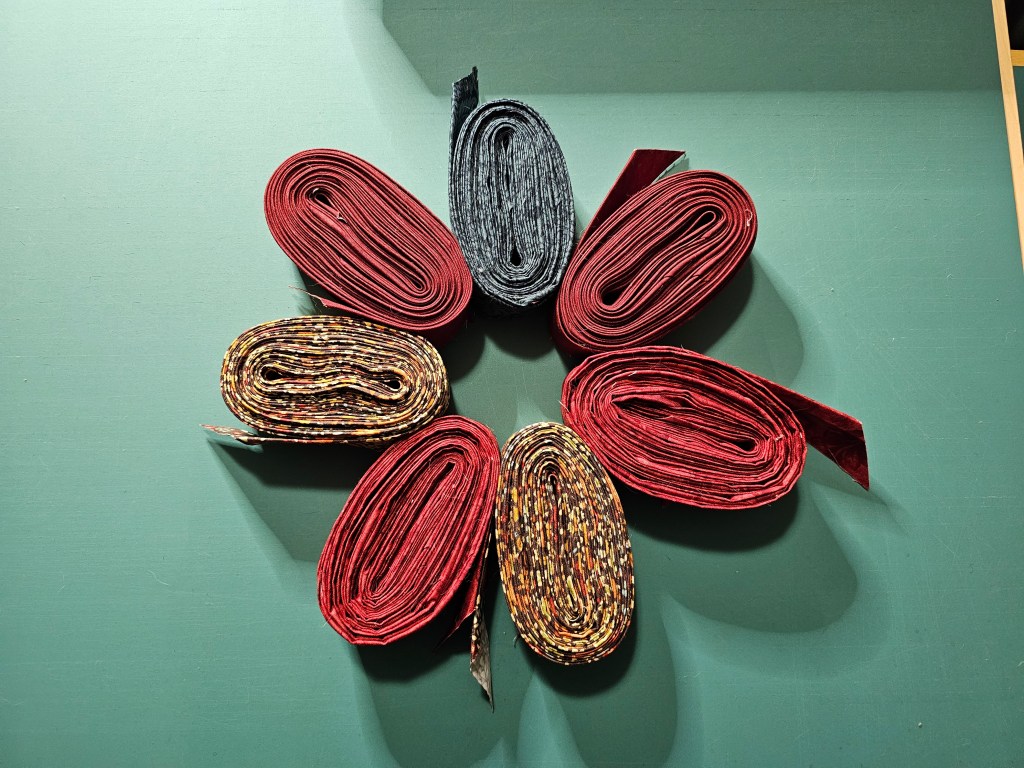
The bindings for all seven quilts have been assembled. When I finish machine quilting each quilt, I attach the binding to the front side. Once I’m done machine quilting all seven, I’ll start hand-finishing all the bindings…the perfect activity for these chilly fall nights.